Crafting Connections: 3rd grade
Showing posts with label 3rd grade. Show all posts

How to Teach the 4 Types of Writing: Narrative, Informative, Persuasive, and Descriptive

Wednesday, August 12, 2026

You tell your students they’re going to write an informative paragraph—and several immediately ask, "What does informative mean again?" Teaching the four types of writing can be especially helpful at the beginning of the school year. Introducing these terms early prevents confusion and gives students a foundation you can refer back to during future reading and writing lessons. 


Four Types of Writing

Narrative Writing

Narrative writing tells a story. It typically includes characters, a setting, events, and a sequence. Encourage students to ask themselves: “Will I be writing about something that happened to me... or about something that could happen to a character?”


Informative Writing

Informative writing teaches the reader about a topic or explains something. It often includes facts. Students can ask: “Will I be trying to teach the reading something?”


Persuasive Writing

Persuasive writing attempts to convince the reader. It typically includes opinion words. Encourage students to ask themselves: “Will I be trying to convince the reader to do something... or to think the way I think?”


Descriptive Writing

Descriptive writing uses details to help the reader clearly imagine a person, place, object, or experience. It often contains many adjectives. Students can ask: “Will I be trying to describe something in a way that helps the reader picture it clearly?”


Connecting Writing to Reading

One of the best ways to help students understand different types of writing is to let them see plenty of examples.

  • What clues tell us that a passage is narrative?
  • How is an informative paragraph different from a persuasive one?
  • What makes a piece of writing descriptive?


Giving students opportunities to read, compare, discuss, and classify examples helps make these abstract writing terms much more concrete.


It also encourages students to think about an author’s purpose and notice the choices writers make—which can ultimately help them make more intentional choices in their own writing.


Aspects that Often Confuse Students


Point of Confusion: Students sometimes see facts and then automatically assume that it is an informative piece of writing. 

Solution: Show students sample paragraphs that contain facts, but are persuasive, description, or narrative. For example, persuasive pieces often use facts as evidence to support their argument. A persuasive piece might be written to try to convince kids to limit how much soda they drink. In this piece, a good writer would point out facts to support their argument- like how drinking too much soda is known to lead to a higher number of cavities and dehydration.


Point of Confusion: Students might be confused between descriptive pieces and narrative pieces that use a lot of description.

Solution: Remind students that descriptive pieces are usually focused on a singular topic, like the beach. In contrast, a narrative piece contains characters, events, and ongoing action. Furthermore, strong narrative pieces will contain plot elements (the exposition/introduction, the rising action, the climax, the falling action, and the resolution).


A Ready-to-Go Resource

Want to teach all four without creating the examples and practice passages yourself? I have already created a constructed-response presentation with examples and practice for my own students. It is part of a small Type of Writing bundle that includes posters, a worksheet, an interactive notebook option, and a 2-day lesson plan. Click on the link below to take a closer look at it in my TPT store.

Learn how to teach the 4 types of writing—narrative, informative, persuasive, and descriptive—with simple strategies, examples, and activities.

As you can see by the example slides shown below, I used soccer players and goals to try to hook my sports-loving students. It includes TEN sample paragraphs to analyze.

Learn how to teach the 4 types of writing—narrative, informative, persuasive, and descriptive—with simple strategies, examples, and activities.


Narrative. Informative. Persuasive. Descriptive. 

Give your students the tools they need to tell the difference—and a writing vocabulary they can use all year long. ✏️


~Deb


Pin for later:

Learn how to teach the 4 types of writing—narrative, informative, persuasive, and descriptive—with simple strategies, examples, and activities.

Restating the Question Using Jokes... plus some go-to resources!

Friday, August 7, 2026

Every teacher has a handful of “building block” lessons—those foundational lessons we teach during the first few weeks of school because they establish routines and expectations for the year ahead.


One of my go-to building block lessons is teaching students how to restate the question in their answer. From day one, I want my students to understand that one-word answers usually aren't enough, especially when responding to questions about a story or informational passage. Instead, I teach them to answer in complete sentences by incorporating part of the question into their response.


A Helpful (and FUN!) Way to Practice This Skill

Once your students understand how to restate a question, try practicing with jokes! Kids love the anticipation of hearing the punchline, and they're highly motivated to write their answers correctly.


Here's how it works:

Tell students the beginning of a joke that starts with a question, but don't reveal the punchline. Instead, have students write the beginning of their answer by restating the question. Once everyone has written their response starter, share the punchline so they can complete the sentence.


For example:

Teacher: What do bees chew?

Students write: Bees chew ____________________.

Teacher reveals: ...bumblegum!


Another favorite is:

Teacher: Why is Cinderella bad at soccer?

Students write: Cinderella is bad at soccer because ____________________.

Teacher reveals: ...she runs away from the ball!


You might also want to do one where the answer is best placed in the middle of the sentence rather than at the end:

Teacher: Where do cows go for entertainment?

Students write: Cows go to ____________________ for entertainment.

Teacher reveals: ...to the moooooo-vies!


 I especially like including examples like this because they show students that restating doesn't always mean putting the answer at the very end. They have to think about how to turn the question into a sentence that actually sounds natural.


It's a quick and engaging activity, gets everyone involved, and gives students meaningful practice with restating questions—all while sharing a few laughs.


A Ready-to-Go Resource


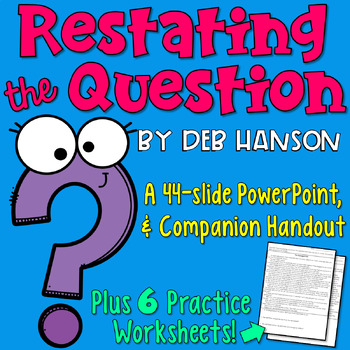
Several years ago, I created a PowerPoint lesson to explicitly teach this constructed-response skill, and a set of worksheets for student practice. It has become one of my most popular back-to-school resources. One teacher shared this review:

"I use this resource at the beginning of every school year to explicitly teach restating questions in complete sentences."

If you're looking for a simple, effective way to establish this expectation from the very beginning, I invite you to take a look. Just click on the image below to learn more! (I recently updated it so that it now includes a link to a Google Slides version of the presentation, along with six practice worksheets.) 

Teach your students to restate the question in the answer. This blog post contains resources and ideas to help you teach your students this important ELA skill.

Restating the question may seem like a small skill, but it’s one of those building blocks students will use all year long. Taking the time to teach it explicitly—and giving students plenty of opportunities to practice—helps set the expectation for thoughtful, complete responses from the very beginning.

And if a few silly jokes can help make that practice more memorable, even better! 😊

~ Deb


Pin for later:

Use jokes to teach your students to restate the question in the answer. This blog post contains resources to help you teach your students this important ELA skill.

Teaching Rounding Through Number Lines

Thursday, July 23, 2026
How many times have you heard a student say, 'Because 5 means round up' when asked to explain their thinking?" If you're an elementary teacher who teaches math, rounding is probably one of the skills on your checklist. In my experience, it's not always the easiest concept for students to master. While many students can memorize a rounding rule, truly understanding why a number rounds up or down is often more challenging.
 
One simple tool can make a big difference: the number line.
 
When we use number lines to teach rounding, we help students visualize the process and develop a deeper understanding of why numbers round the way they do. Instead of relying solely on a rule, students learn to think about which benchmark number a given number is closest to.
 
Use number lines to teach your students to round numbers.


Moving Beyond "5 or More, Raise the Score"

Many students learn catchy rhymes or procedures for rounding, but these shortcuts can sometimes lead to misconceptions. Students may know which digit to look at, yet still struggle to explain their reasoning. When rounding is taught only as a rule to memorize, students often have difficulty applying the concept to larger numbers, decimals, or estimation problems.
 

The Power of the Number Line

A number line provides a visual model that helps students see rounding as a process of finding the nearest benchmark number.
 
For example, when rounding 47 to the nearest ten, students can place 47 on a number line between 40 and 50. Once they identify the midpoint (45), they can see that 47 is closer to 50 than to 40. This visual approach helps students understand that rounding is based on proximity—not just a rule to follow.
 

Benefits of Using Number Lines

When students regularly use number lines to round numbers, they:
  • Develop stronger number sense.
  • Gain a better understanding of benchmark numbers.
  • Build reasoning and justification skills.
  • Strengthen connections between estimation and place value.
  • Reduce common rounding misconceptions.


Ready-to-Go Resources

If you're looking for ready-to-use resources to support your rounding instruction, feel free to explore the materials in my store. Simply click on any of the images below to learn more about these activities and see how they can help your students build confidence with rounding.

Worksheets and task cards are also available for more practice!
Teaching students to round numbers can be fun and easy! Use number lines and ninjas to make rounding simple and memorable.


Below, you will see a few example slides from this 82-slide math presentation. I use ninjas to make this concept more engaging for students. I have found that students enjoy deciding whether a ninja needs to kick a number up to the larger benchmark number, or if the ninja needs to kick a number down to the smaller benchmark number. 


Teaching students to round numbers can be fun and easy! Use number lines and ninjas to make rounding simple and memorable.

Teaching students to round numbers can be fun and easy! Use number lines and ninjas to make rounding simple and memorable.

It includes rounding numbers to the nearest hundred and nearest thousand, as well.
Use number lines to teach students to round to the nearest hundred.

Use number lines to teach students to round to the nearest thousand.

Worksheets and task cards are also available for more practice!
P
Practice rounding to the nearest ten, nearest hundred, and nearest thousand with this set of worksheets. They use number lines to round numbers up or down.


Practice rounding to the nearest ten, nearest hundred, and nearest thousand with this task card set that features ninjas and number lines..


T

Thanks for reading!

~Deb


Pin for future reference:
Using number lines to round numbers up or down helps students visualize the rounding process and develop a deeper understanding of why numbers round the way they do.


Types of Sentences: A Free Sorting Activity

Thursday, September 10, 2020
I frequently create sorting activities to use with my students. I am a huge fan of sorts for two main reasons. Most importantly, sorting activities require students to be actively engaged. When done with a partner, they involve many discussion opportunities, which is music to this ELL teacher's ears! I also like sorting activities because they are so versatile. Sorting activities can be an independent activity, a small group activity, or they can be easily adapted to create a whole-class activity, depending upon your current needs. In this blog post, I am sharing my types of sentences sort with you, and explaining how I have used it in a whole-class setting. I invite you to click on the image below to access it (it's free!), and decide for yourself how you want to use it with your students.

Have your students sort the 27 sentence strips into declarative, interrogative, imperative, and exclamatory envelopes. This FREE lesson can be used with small groups or the entire class. It includes the posters, sentences strips, and more!
Add caption

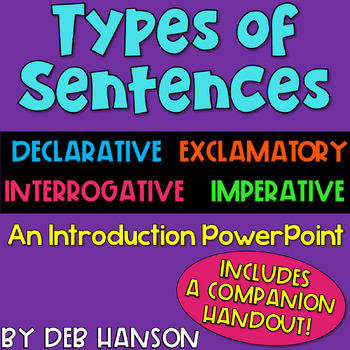
I designed this sorting activity to be part of a review lesson, done one or two days after the four types of sentences have been introduced. (I almost always introduce a new topic of study with a PowerPoint.) Click on the following image to view my Types of Sentences PowerPoint.


Step 1: Preparation

Before class, there are just a few items that need to be prepared. First, the four posters need to be printed and glued onto manila envelopes. (As you can see, my envelopes happen to be white.) The sentence strips also need to be printed and cut apart.

Have your students sort the 27 sentence strips into declarative, interrogative, imperative, and exclamatory envelopes. This FREE lesson can be used with small groups or the entire class. It includes the posters, sentences strips, and more!


Step 2: The Lesson

To begin the lesson, I ask students to turn to a neighbor and exchange interrogative sentences. Then, I display the interrogative poster (which is glued to an envelope) by placing it on the chalk tray, and we review what we already learned yesterday about an interrogative sentence's punctuation.

Have your students sort the 27 sentence strips into declarative, interrogative, imperative, and exclamatory envelopes. This FREE lesson can be used with small groups or the entire class. It includes the posters, sentences strips, and more!

I repeat this step with declarative sentences, imperative sentences, and exclamatory sentences. When this quick review is complete, all four envelopes are lined up across the chalk tray.

Now, it is time to sort the sentence strips. I tell students to take out their personal whiteboard, eraser, and marker. When everybody is ready, I pick up a strip and read it to the class. Each student writes what type of sentence it is on their marker board. (I let them use abbreviations- D, Intg, Imp, and E.) Using my popsicle sticks, I randomly choose a student to share their answer with the class. I invite the student to come forward, add the correct punctuation to the strip, and drop it in the appropriate envelope. This process is repeated with all 27 strips.

Have your students sort the 27 sentence strips into declarative, interrogative, imperative, and exclamatory envelopes. This FREE lesson can be used with small groups or the entire class. It includes the posters, sentences strips, and more!

Have your students sort the 27 sentence strips into declarative, interrogative, imperative, and exclamatory envelopes. This FREE lesson can be used with small groups or the entire class. It includes the posters, sentences strips, and more!

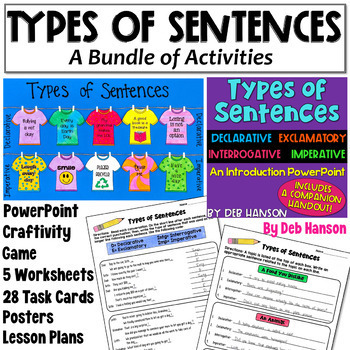
I hope you and your students enjoy this lesson! If you happen to be looking for additional activities, feel free to check out my Types of Sentences Bundle!

This types of sentences bundle is full of many engaging activities, including a PowerPoint, craftivity, worksheets, and games


-Deb


Pin this image for future reference!
Have your students sort the 27 sentence strips into declarative, interrogative, imperative, and exclamatory envelopes. This FREE lesson can be used with small groups or the entire class. It includes the posters, sentences strips, and more!


Text Evidence: A Lesson for Upper Elementary Students

Sunday, March 1, 2020

Text Evidence... it's of huge importance in the upper elementary grades! After all, it's the first standard listed for Reading: Literature and Reading: Informational Text in grades 3, 4, and 5. For those of you who work with the Common Core standards, 4th and 5th grade students are expected to be able to answer text questions by pointing to a section of the text...
    1.)  that provides the exact answer
and 
2.) that helps them to infer an answer

I created the following lesson to use with upper elementary students. If you would like to replicate the lesson to use with your own students, click on the image below. You can download all of the printables shown in this blog post for free!


Teach students to support their answers by citing text evidence.This blog post includes free printables so that you can replicate the entire lesson with your upper elementary students.

Part 1: Anchor Chart

Prior to the start of the lesson, assemble the top half of the anchor chart so that it is ready to go when class begins. (Do not include the questions or answers shown at the bottom of the anchor chart.)

To begin the lesson with students, point to the anchor chart title, and then discuss what the dot dude characters are thinking. Ask a student volunteer to read the paragraph aloud for the rest of the class. Tell students that two questions follow this text. Read the first question to the students and ask them whether it is a "right-here-in-the-text" question or an "infer-with-text-clues" question. Write the question on the correct side of the anchor chart, and then have students help you answer the question. Repeat the process with the second question.

This text evidence anchor chart reminds students that some answers are explicitly stated, and some answers must be inferred. This blog post includes free printables so that you can replicate the anchor chart!

Part 2: Introduce Sentence Starters 

After you complete the anchor chart, pass out the bookmark papers to your students, and tell them that the two types of questions require slightly different sentence starters. 
These free text evidence bookmarks remind students that some answers are explicitly stated, and some answers must be inferred. This blog post includes free printables so that you can replicate the anchor chart!
The set of five sentence starters on the left is useful when the answer is explicitly stated in the text. The set of five sentence starters displayed on the right is especially valuable when students must infer in order to determine the answer. 

Tell students to cut around the outside box and then fold it in half to create a two-sided bookmark. This bookmark can now be used as a reference tool throughout your text evidence unit, and throughout the school year.
These free text evidence bookmarks remind students that some answers are explicitly stated, and some answers must be inferred. This blog post includes free printables so that you can replicate the anchor chart!

Part 3: Practice with a Partner

For the final part of this large group lesson, have students work with a partner. To begin, tell them to quickly decide which of them is Partner A, and which is Partner B. Hand each group a dry-erase board, marker, and eraser. 
1.  Place "The Cobra" passage under your document camera and invite the groups to read it quietly
     to themselves. (I recommend covering the questions for now.)
2.  Tell students that for this passage, Partner A will write on the clipboard while Partner B will 
     handle the bookmarks. 
3.  Display Question #1.
4.  Tell partners to discuss whether it is a "right-there" question or a "stop-and-infer" question and 
     then answer the question.
5.  Partner A should write the answer on the whiteboard. (Students must use one of the sentence 
     starters from the bookmark, as well.)
6.  When all of the groups are done, have them display their answers. Partner A should hold up the 
     whiteboard, and Partner B should hold up the bookmark so that the question type that they
     identified is facing you.
7.  Display Question #2 and repeat steps 4-6.
8.  Display Question #3 and repeat steps 4-6.
Free Text Evidence Passages! Teach students to support their answers by citing text evidence.This blog post includes free printables so that you can replicate the entire lesson with your upper elementary students.

When you have completed the first passage, place the second passage under the document camera and repeat the entire process outlined above. Instruct the partners to switch roles for this new passage. Partner B is now the writer while Partner A is in charge of handling the bookmarks.
Free Text Evidence Passages! Teach students to support their answers by citing text evidence.This blog post includes free printables so that you can replicate the entire lesson with your upper elementary students.

TEXT EVIDENCE... MORE PRACTICE OPPORTUNITIES!

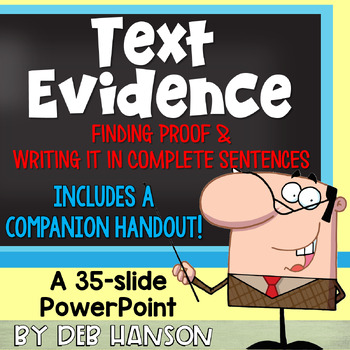
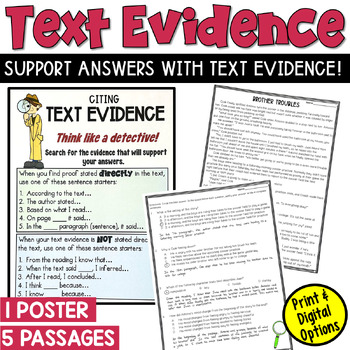
In case you are interested, I have created a number of Text Evidence teaching resources that are available in my TpT store. Just click on the images to take a closer look at them!

Teaching students to find text evidence to support their answers is an important reading strategy and test taking strategy. Use this Text Evidence PowerPoint to teach your students this important skill.

Teaching students to find text evidence to support their answers is an important reading strategy and test taking strategy. This post contains a FREE text evidence lesson!  It includes text evidence sentence starters, a free reading passage, and other text evidence activities.


Thank you for stopping by!
~Deb


Pin for future reference:
Teach students to support their answers by citing text evidence.This blog post includes free printables so that you can replicate the entire lesson with your upper elementary students.

Pronouns Anchor Chart and Activities

Wednesday, November 27, 2019
If you teach ELA, chances are good that you cover the topic of pronouns. Pronouns are a perfect example of a skill that spirals in complexity with each passing year. We usually start by introducing pronouns to students in the early elementary grades, and add on new "layers" each year as students advance through elementary school. Types of pronouns include:
  • Personal pronouns (including subjects and objects)
  • Reflexive pronouns
  • Possessive pronouns
  • Relative pronouns
  • Demonstrative pronouns
  • Indefinite pronouns
  • Interrogative pronouns
And that's not even a complete list! Which pronouns do you teach? Your answer likely depends upon your grade level and the state or country in which you teach. Interestingly, Common Core standards identify reflexive pronouns as a second-grade skill, whereas TEKS (Texas standards) identify reflexive pronouns as a fourth-grade skill. Likewise, Common Core standards identify relative pronouns as a fourth-grade skill, while TEKS place them in the sixth-grade category!
This pronouns anchor chart activity is designed for elementary students who are being introduced to personal pronouns and reflexive pronouns. Since pronouns take the place of nouns, the action of physically replacing the nouns with the sticky note pronouns is especially helpful for those students who are kinesthetic learners. Check out the blog post for more details!

Pronouns Anchor Chart

Today, I want to share an anchor chart activity I created for students in the lower elementary grade levels who are being introduced to pronouns and their functions in sentences. In my classroom, this lesson would happen on Day #2 because I would be reviewing what was introduced on yesterday's Introduction to Pronouns PowerPoint. (I almost always use PowerPoints to introduce new concepts to my students.) 
Prior to beginning the lesson, I would make the "shell" of the anchor chart, which would include the title, the three boxes (which would be empty), and the five practice sentences. I would begin by having students help me fill in the words that belong in each of the top three boxes.
This pronouns anchor chart activity is designed for elementary students who are being introduced to personal pronouns and reflexive pronouns. This pronouns anchor chart is highly interactive, as students cover the nouns with pronouns written on sticky notes. Read more about this lesson and view the finished product by visiting my blog post.

Then, I would work through each sentence at the bottom of the anchor chart. As you can see, I intend to ask students to help me replace the underlined words and phrases with pronouns. To help students understand that these pronouns are taking the place of a noun, I will invite a student to place a sticky note over each underlined word or phrase, and then have him or her write the appropriate pronoun on the sticky note. (The action of physically replacing the nouns with the sticky note pronouns is especially helpful for those students who are kinesthetic learners.) 
This pronouns anchor chart activity is designed for elementary students who are being introduced to personal pronouns and reflexive pronouns. Beneath each pronoun sticky note is the noun that the pronoun is replacing. Read more about how I begin this interactive anchor chart lesson by visiting my blog post.

I also color-coded the sticky notes so that they match the colors used in the three boxes near the top of the anchor chart. This helps students see that subject pronouns are usually used near the beginning of a sentence, while object pronouns and reflexive pronouns appear either in the middle or at the end of a sentence.

More Pronoun Resources Needed?

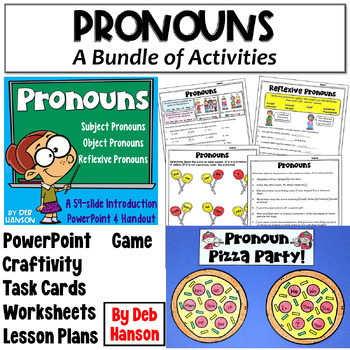
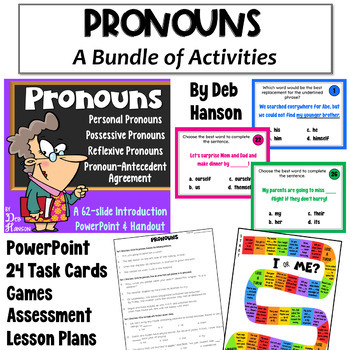
If you happen to be looking for some engaging pronoun resources to use with your students, feel free to check out the pronoun activities in my TpT store. Pictured below are my pronoun bundles. Click on the images to view previews and descriptions.


Pin for future reference:
This pronouns anchor chart activity is designed for elementary students who are being introduced to personal pronouns and reflexive pronouns. Since pronouns take the place of nouns, the action of physically replacing the nouns with the sticky note pronouns is especially helpful for those students who are kinesthetic learners.

Restating the Question in the Answer (Freebie included!)

Thursday, October 24, 2019

Teach your students to answer comprehension questions the right way: by putting the question in the answer. This blog post features a complete lesson which includes an anchor chart, a mentor text, and a FREE practice worksheet.

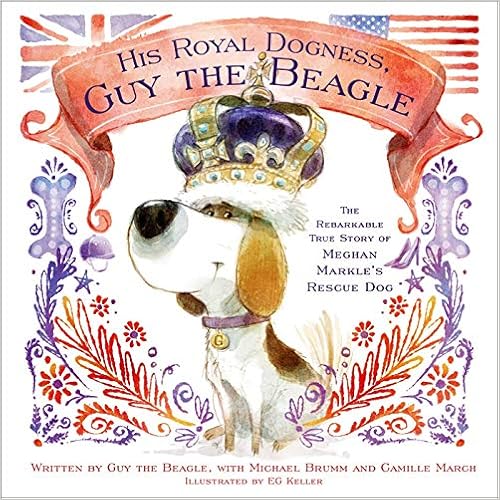
Have you ever given your students a worksheet that contains a reading passage followed by a handful of comprehension questions? If your students are like mine, you have learned over the years that you must explicitly tell students to write their answers in complete sentences. If you forget to mention this requirement, many students will compose one- or two-word answers. Therefore, I have found that taking the time to teach students to "restate the question" in the answer is well worth the time it takes. Since upper elementary students still love read-alouds, this is a fun lesson in which you can feature your favorite upper elementary picture book. (Full disclosure: An Amazon affiliate book link is included in this blog post.) As you will see below, I decided to use His Royal Dogness, Guy the Beagle, but any book will work with this lesson.

Before Reading

Let's back up a moment, though, and let me tell you how I begin this lesson. In preparation of this lesson, I write a list of simple questions based on traditional literature on anchor chart paper. 
Teach your students to answer comprehension questions the right way: by putting the question in the answer. This blog post features a complete lesson which includes an anchor chart, a mentor text, and a FREE practice worksheet.
Then, when class begins, I also distribute a white board, dry-erase marker, and an eraser to each PAIR of students. When each duo has the supplies it needs, I point out the title on the anchor chart, and tell students that I want them to help me answer each question by writing complete sentences that restate the question in the answer. Take a moment to model your expectations by choosing a student to ask you a random question. Write the answer on the board in a complete sentence. 

Instruct students to read Question #1, and then work with their partner to formulate a correct, complete answer and write it on their white board.
Teach your students to answer comprehension questions the right way: by putting the question in the answer. This blog post features a complete lesson which includes an anchor chart, a mentor text, and a FREE practice worksheet.
Ask a volunteer to share their answer. If it is correct, have them write it on the anchor chart, as well.

Instruct students to read Question #2, but this time, the other student should write on the white board. Continue this until all of the questions are answered.
Teach your students to answer comprehension questions the right way: by putting the question in the answer. This blog post features a complete lesson which includes an anchor chart, a mentor text, and a FREE practice worksheet.


During Reading

Once all five questions have been answered, we quickly put away our supplies, and I show them the picture book we're going to read together. I tell them that when we finish the book, they will be given a worksheet with questions about the book, and they will practice the skill of restating the question in the answer.
Teach your students to answer comprehension questions the right way: by putting the question in the answer. This blog post features a complete lesson which includes an anchor chart, a mentor text, and a FREE practice worksheet.
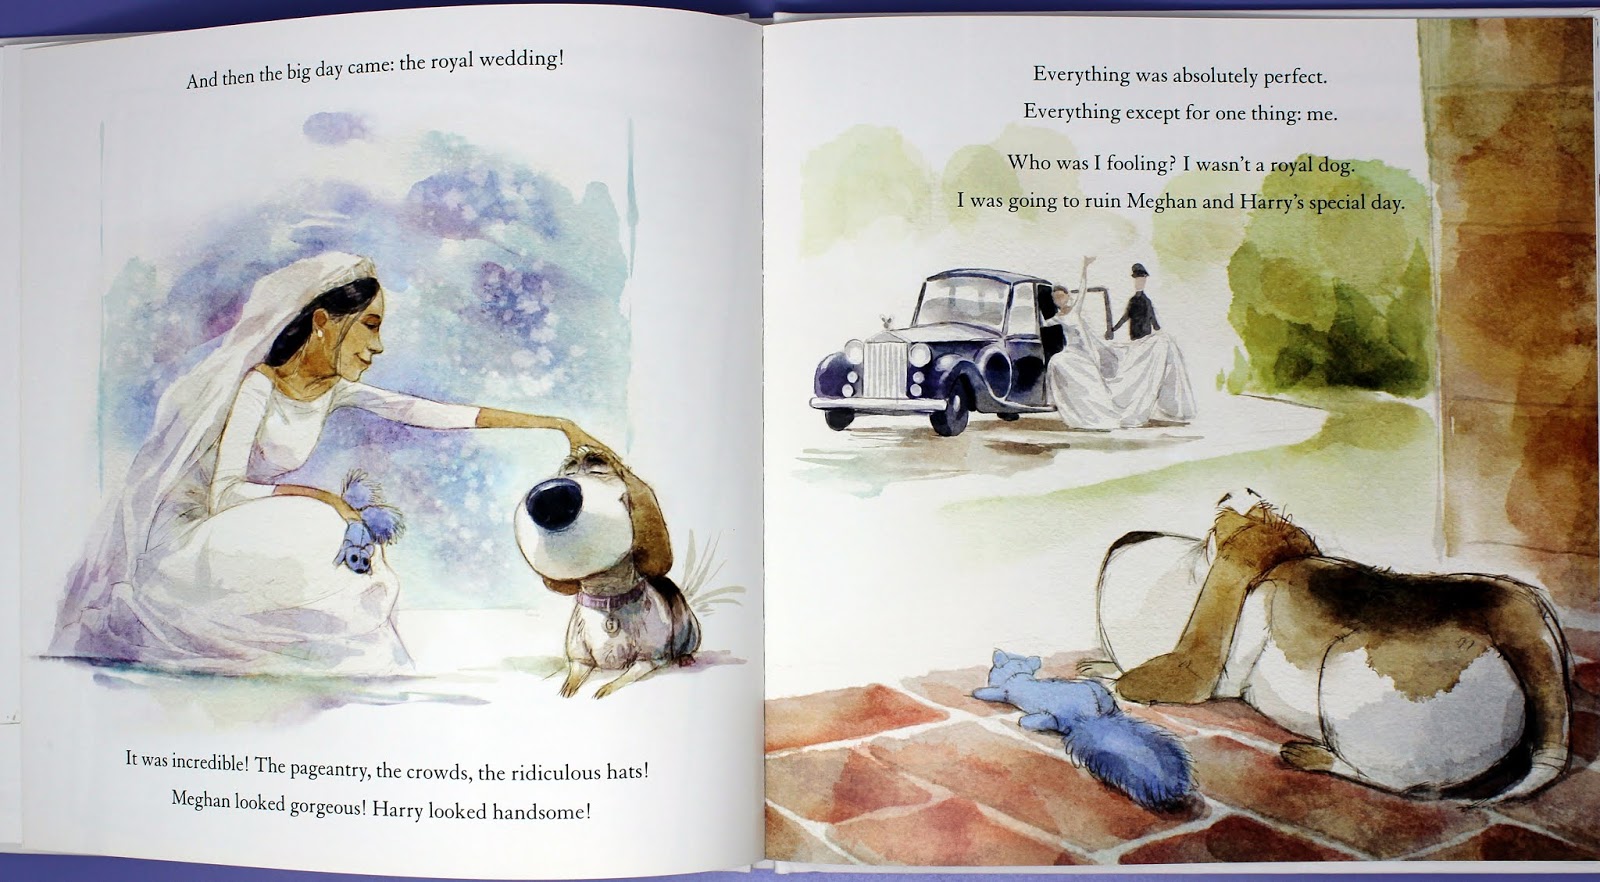
This is a wonderful picture book for so many reasons! First of all, it reminds students that if you are planning to welcome a new pet into your home, rescuing a pet from an animal shelter is a remarkable option. Secondly, as you can see below, the illustrations are outstanding.
Teach your students to answer comprehension questions the right way: by putting the question in the answer. This blog post features a complete lesson which includes an anchor chart, a mentor text, and a FREE practice worksheet.

Teach your students to answer comprehension questions the right way: by putting the question in the answer. This blog post features a complete lesson which includes an anchor chart, a mentor text, and a FREE practice worksheet.

Teach your students to answer comprehension questions the right way: by putting the question in the answer. This blog post features a complete lesson which includes an anchor chart, a mentor text, and a FREE practice worksheet.

Also, this book is also perfect for upper elementary students because the authors use a lot of subtle humor throughout the book. It is fun to stop after sentences like the ones below and ask if they understand what the authors are alluding to when they say "English life isn't all kibble and roses", and why it is funny when the authors say that "in England, dogs go to the bathroom on the left side of the hydrant".
Teach your students to answer comprehension questions the right way: by putting the question in the answer. This blog post features a complete lesson which includes an anchor chart, a mentor text, and a FREE practice worksheet.

After Reading

After you are done enjoying the story with your students, hand out the worksheet (click HERE or on the image below to download it). Remind students to answer the questions in complete sentences that restate the question in the answer.
Teach your students to answer comprehension questions the right way: by putting the question in the answer. This blog post features a complete lesson which includes an anchor chart, a mentor text, and a FREE practice worksheet.

If you're looking for another ready-to-go lesson related to this topic, feel free to check out my Restating the Question PowerPoint!

~Deb

Pin for later:
Teach your students to answer comprehension questions the right way: by putting the question in the answer. This blog post features a complete lesson which includes an anchor chart, a mentor text, and a FREE practice worksheet.


Powered by Blogger.
Back to Top