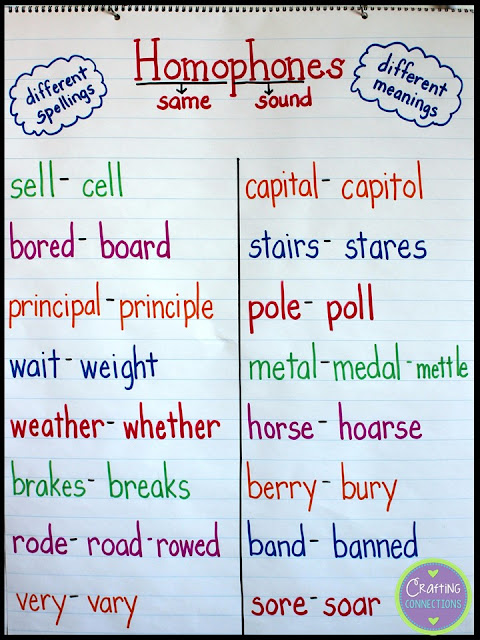
However, once you remind upper elementary students that homophones are words with the same pronunciations (or sounds), but different meanings and spellings, they can generally rattle off a string of them. That's why I approach this lesson a little differently than I approach most other lessons where I use an anchor chart.
Prior to the beginning of class, I create this "base". As you can see, I review the definition for homophone by relating it to our prior knowledge of the Greek roots homo, which means "same", and phon, which means "sound".
After a brief review, I tell students that I designed a challenge for them. I purposely chose a handful of somewhat-challenging homophones to include on this anchor chart. I will give them three minutes to see how many "homophone partners" they can list on their handout. (Click on the image below to download this for free!) For example, what is another way that you can spell "sell", that means something different than "sell"?
After a few minutes, I ask random students to share their answers with me, and I record the words on the anchor chart. With each listed pair, I ask students to provide example sentences where each particular spelling would be used.
My favorite follow-up activity to this lesson is my homophone craftivity! As you can see, students are given text message screens where certain words are underlined. They must write a sentence on the other screen that uses the homophone's alternate spelling.
This craftivity includes a basic version and a more challenging version so that it can be used with multiple grade levels, or differentiated for students within one classroom. If you're interested in taking a closer look at it, click on one of the photos above to view this resource in my TpT store!


0 comments:
Post a Comment